To begin with android fonts, open the Settings app on your phone. On some phones, you’ll find the option to change your font under Display > Font Style, while other models allow you to download and install new fonts by following the path Display > Fonts >

How to Use Font on a Non-Rooted Smartphone
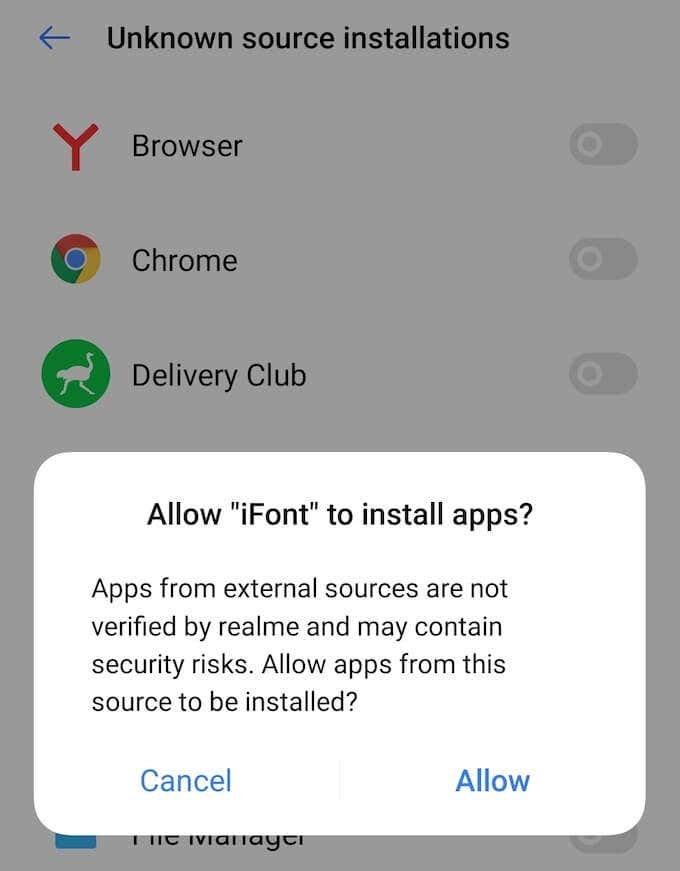
Before using the app, make sure you enable Unknown source installations on your phone. To do that, follow the path Settings > Security > App Installation > Unknown source installations, then choose iFont > Allow to enable it.
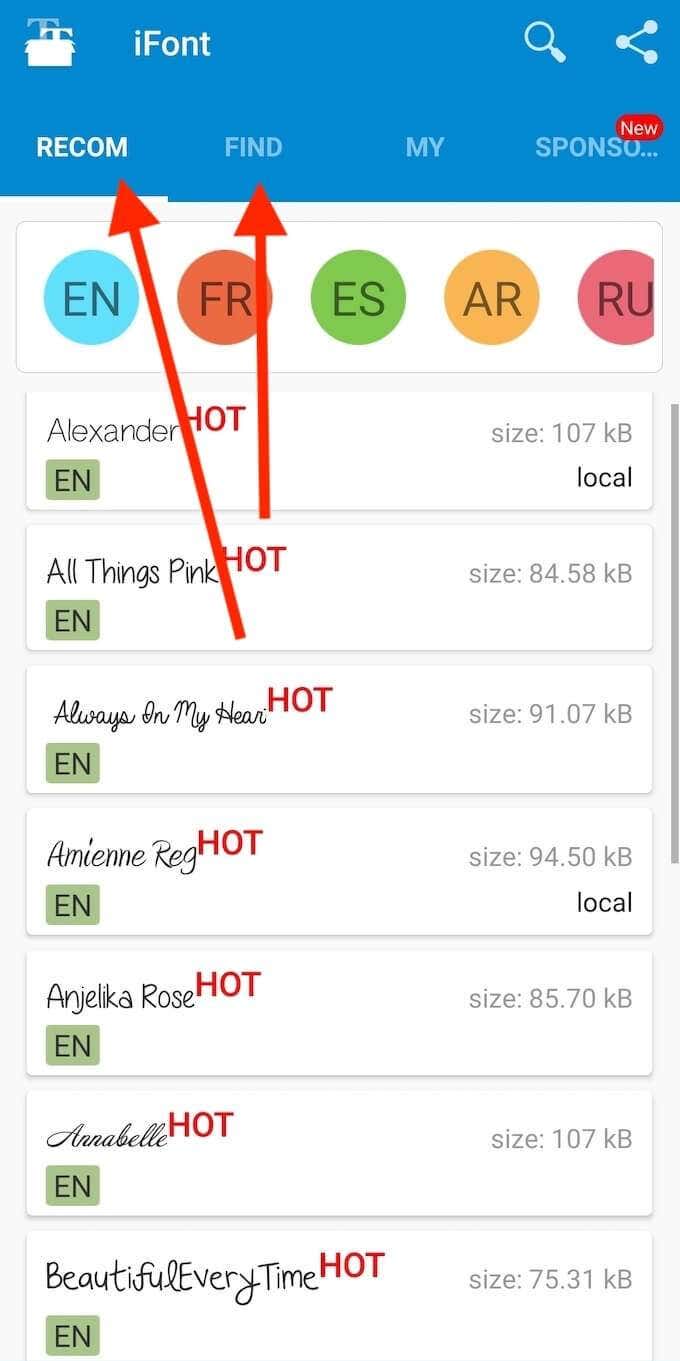
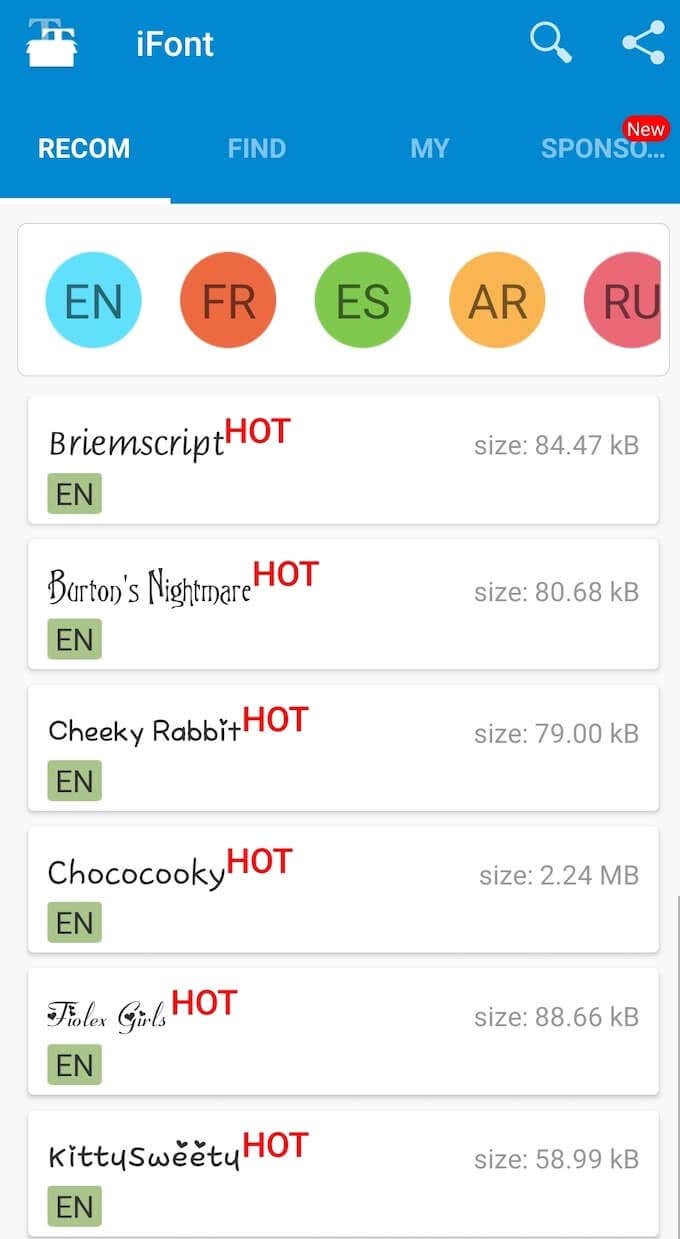
The next step is to open the app and choose a font that you like. You can either use the Recommended or Find tab to do it.
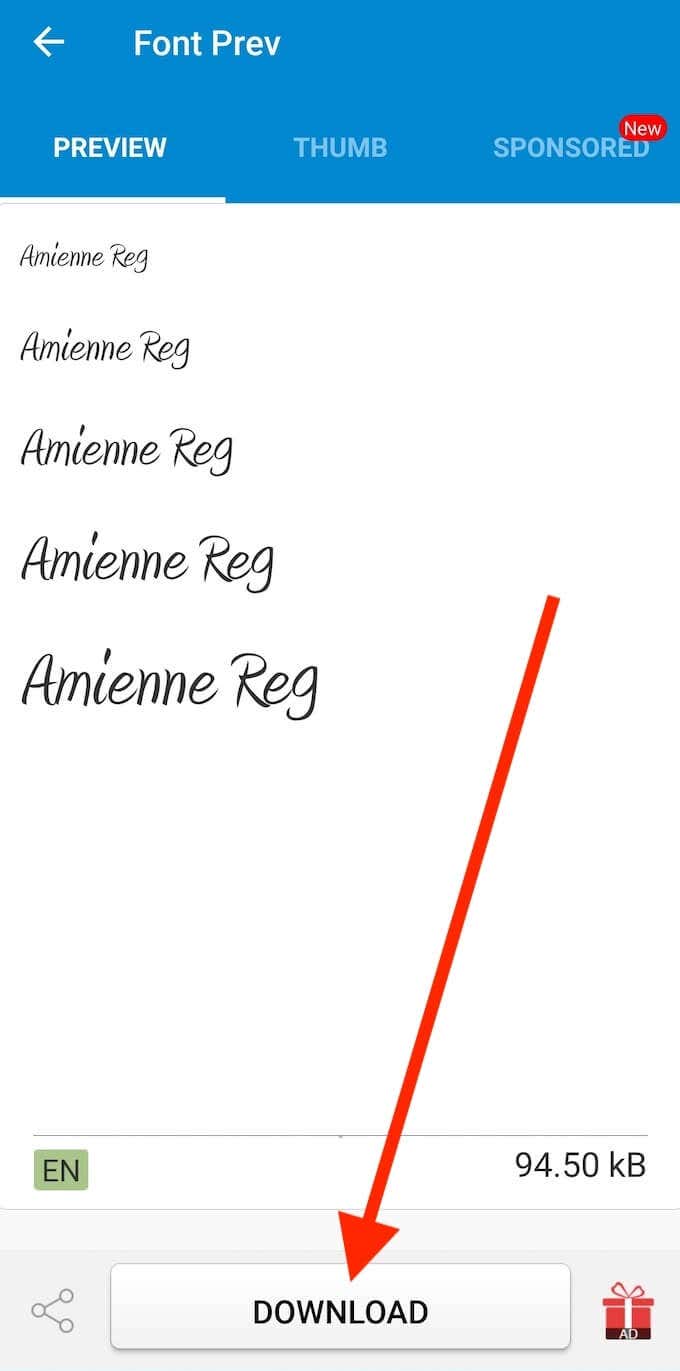
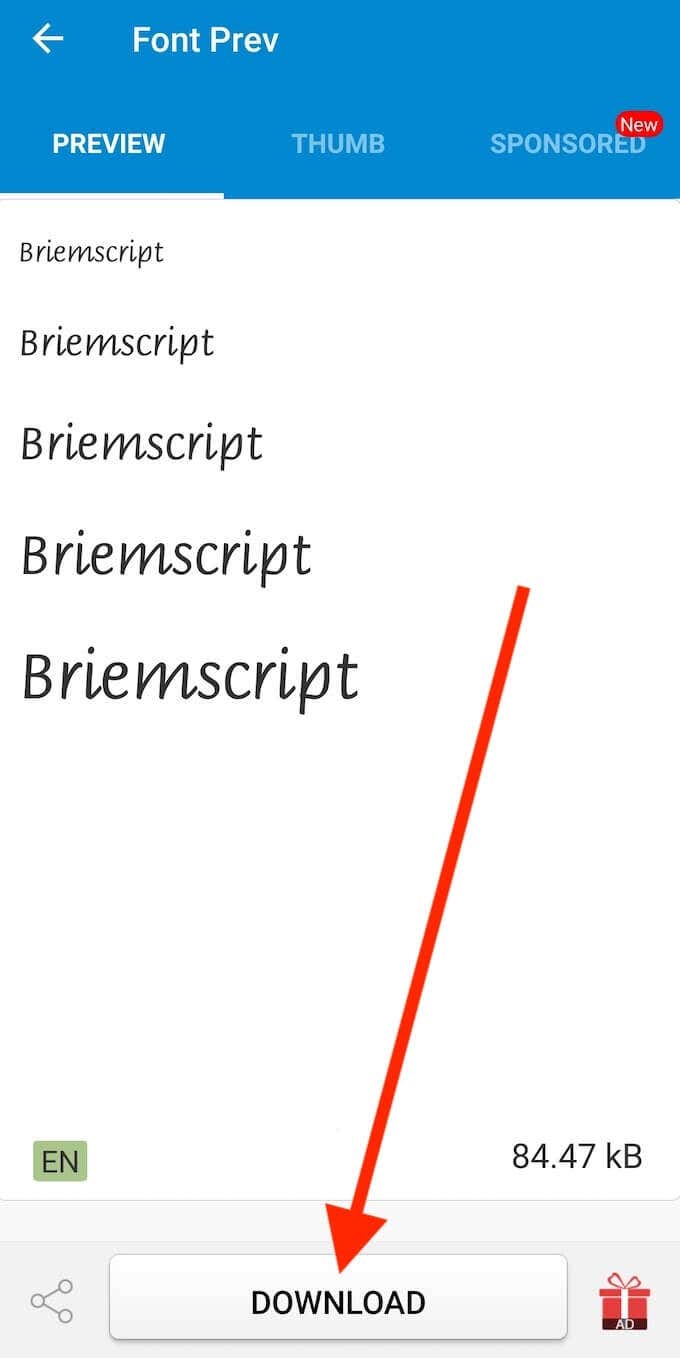
Select the font that you like. Then select Download.
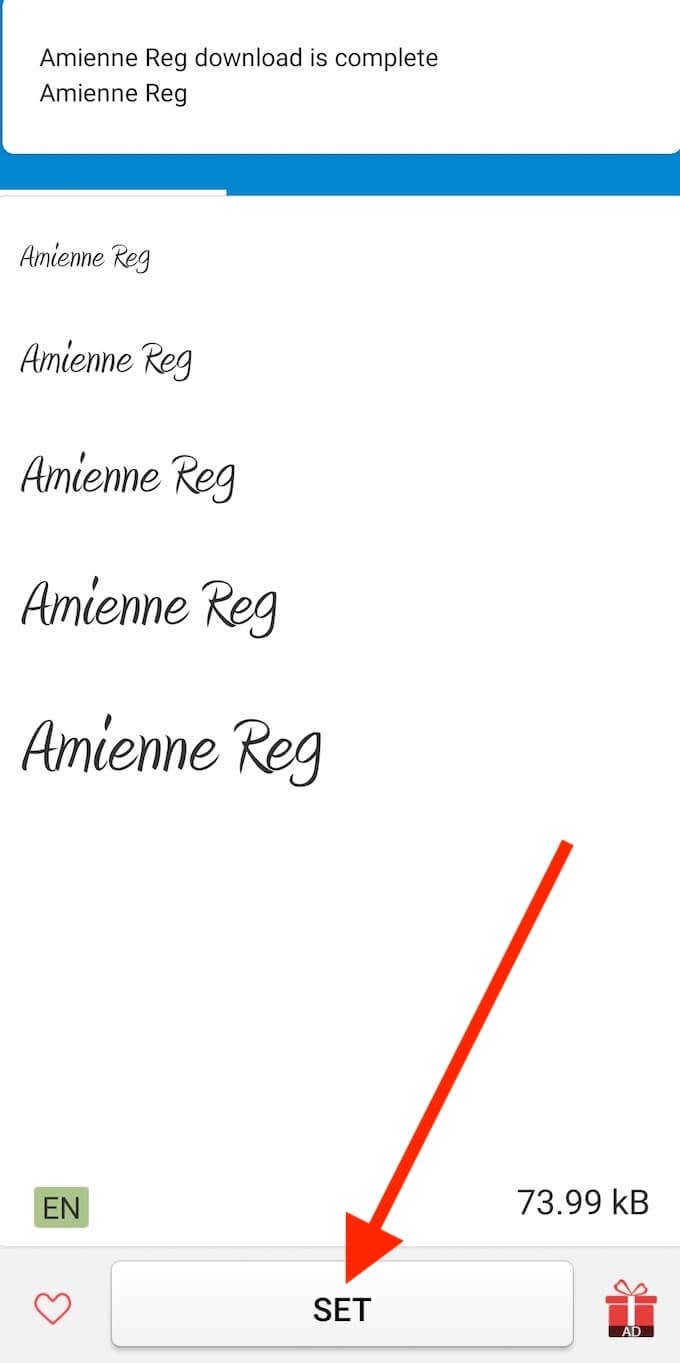
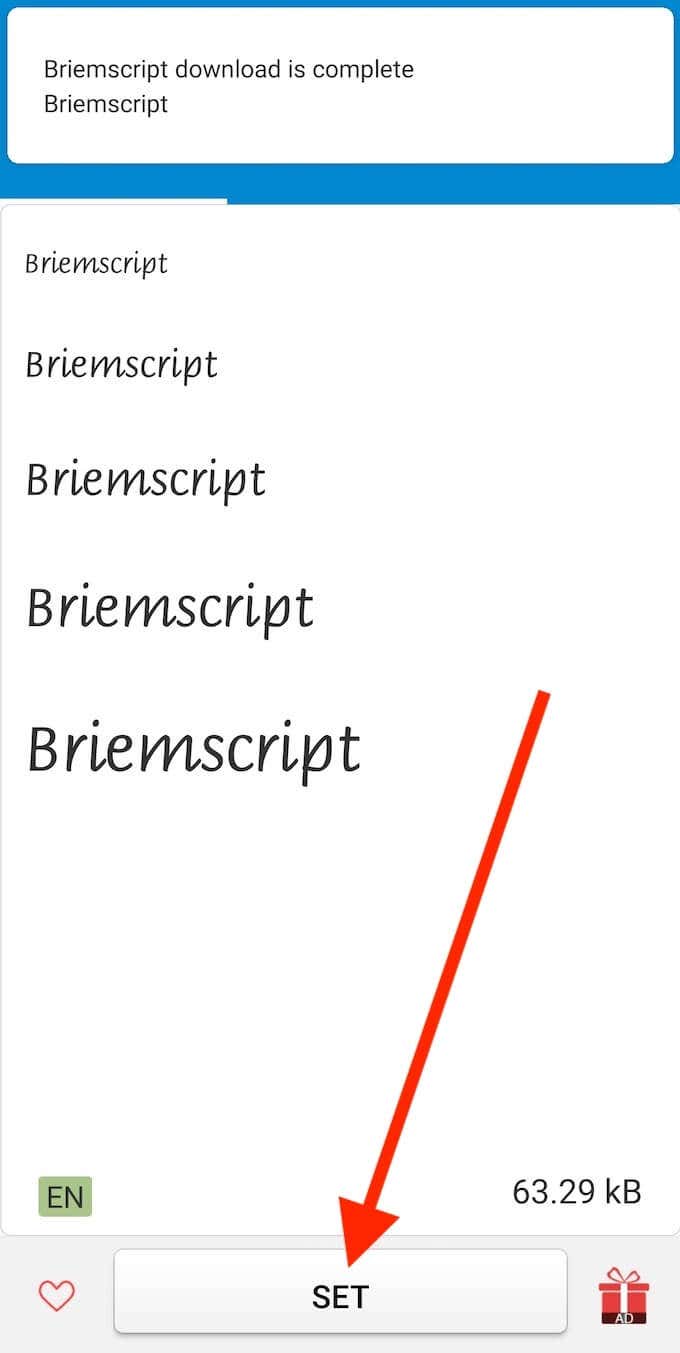
You’ll see a pop-up message on your phone when the download’s complete. Select Set.
When using iFont for the first time, the app will prompt you to go through the instructions before changing the font on your smartphone. You can choose to read or skip it.

Some smartphones will change the font straight away. If that didn’t happen, follow the path Settings > Display > Font to manually switch to the font you just downloaded.
Download and open the iFont app. Then select the font you’d like to use.
On the desired font’s page, select Download at the bottom of the screen.
After the download’s complete, select Set.
You’ll see a pop-up message informing you that iFont is requesting SuperUser permissions. After you accept the request, your font should change. If that didn’t happen, follow the path Settings > Display > Font to manually switch to the font you just downloaded.

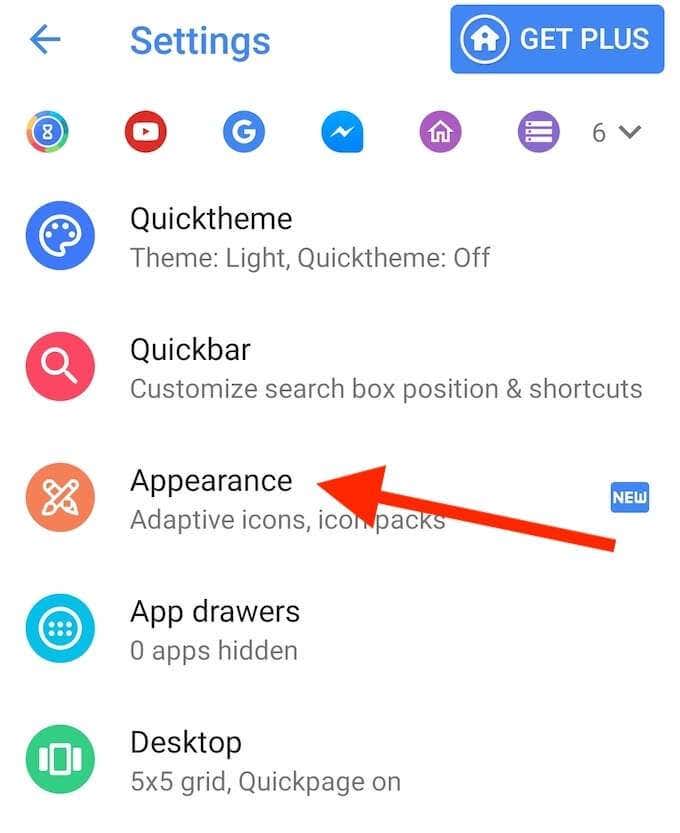
You’ll now see an Action Launcher Settings icon on your home screen. Select Action Settings.

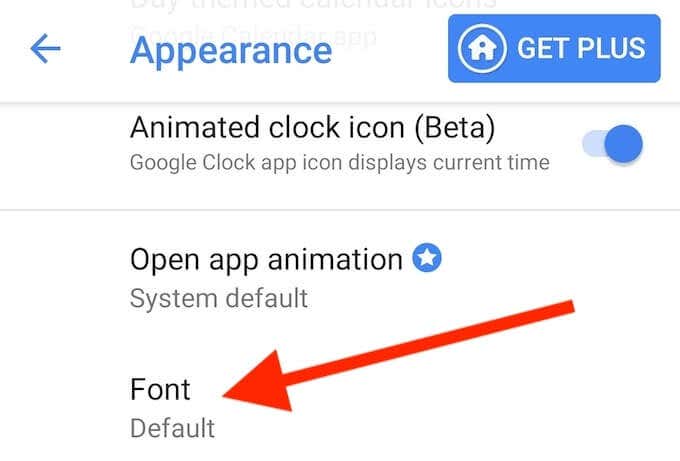
Select Appearance.
Select Font to change the default font on your smartphone. Choose a font that you like from the list.
Action Launcher will then automatically apply the font you selected to your main UI.


0 Comments