How do you create a shared folder on your Synology
A shared folder is a home folder where you can store and manage your files and subfolders. Before you save files you must have at least one shared folder. Through the step-by-step plan below, I will show you how you can create such a shared folder.
Create a shared folder
- 1. Open http://find.synology.com in an internet browser to open the NAS user interface. For example Google Chrome, Safari, Firefox or Internet explorer. Do this on a computer connected to the same network.
- 2. Then go to the control panel here.
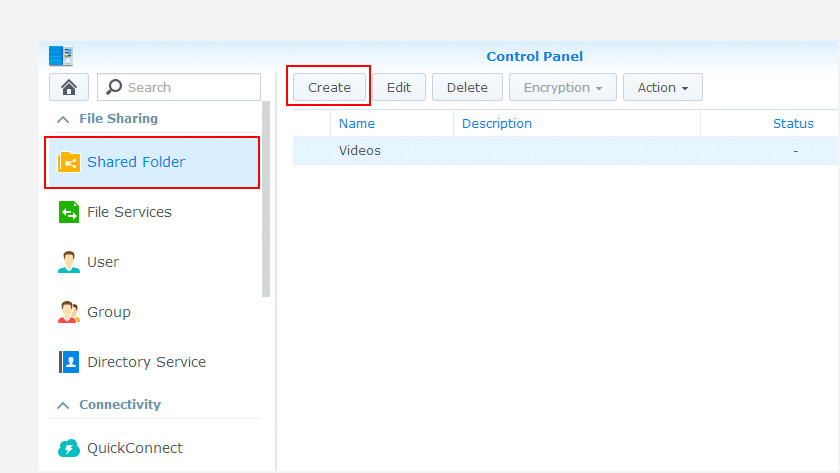
- 3. Choose 'Shared Folder' and then 'Create'.
- 4. Enter the name and description of the shared folder, for example: 'Movies'.
- 5. Select the volume where the folder is to be created (if you only have one volume you can skip this step).
- 6. (Optional) Make a note of the name of the volume and the name of your folder, which you will need later on if you want to make the folder accessible on your computer.
- 7. Press 'Ok'.
- 8. You will now enter a next screen. Here you can set the rights for the folder per user. Do you want full rights? Then tick the 'Read / Write' option.
- 9. Press 'Ok', you can now use the folder to save files.


0 Comments