For the longest time, I have been a collector of fonts. Some might say I have a bit of an obsession. And since my early days of using Linux, I’ve always used the same process for adding fonts to my desktops. There are two ways to do this:
- Make the fonts available on a per-user basis.
- Make the fonts available system-wide.
mkdir ~/.fonts
* If you want to make that collection of fonts available to all, here’s what you do:
Open up a terminal window.
Change into the directory housing all of your fonts.
Copy all of those fonts with the commands sudo cp *.ttf *.TTF /usr/share/fonts/truetype/ and sudo cp *.otf *.OTF /usr/share/fonts/opentype
GUI Font Managers
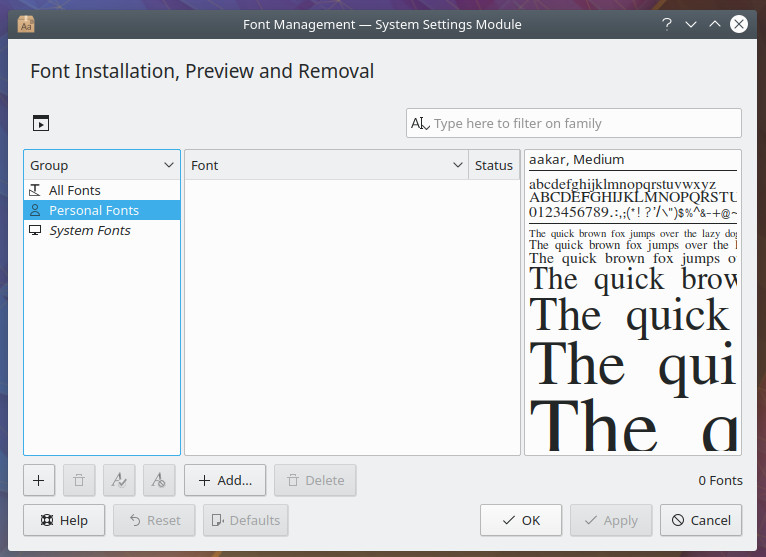
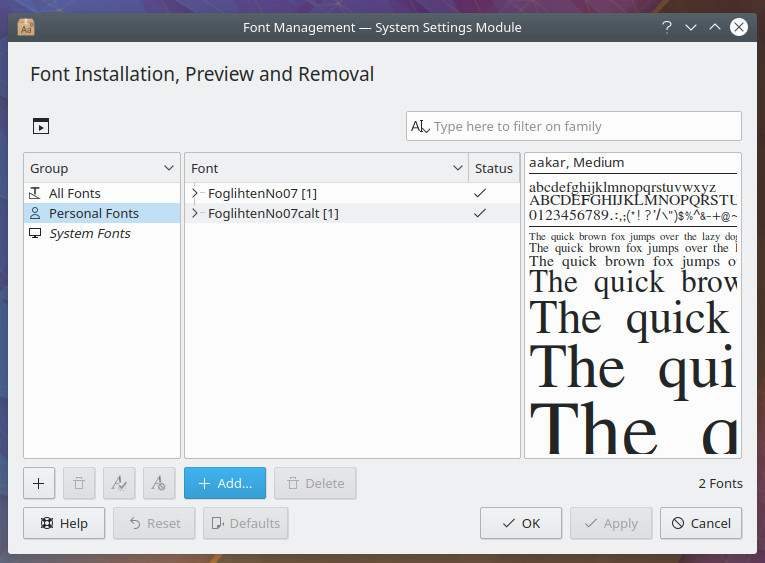
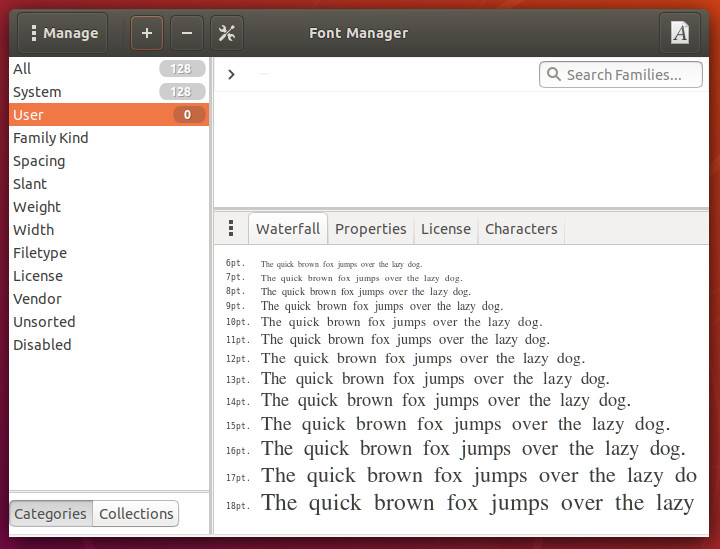
* Select Font Manager and then click the Install button. Once the software is installed, launch it from the desktop menu. With the tool open, let’s install fonts on a per-user basis. Here’s how:
Select User from the left pane (Figure 3).
Click the + button at the top of the window.
Navigate to and select the downloaded fonts.
Click Open.
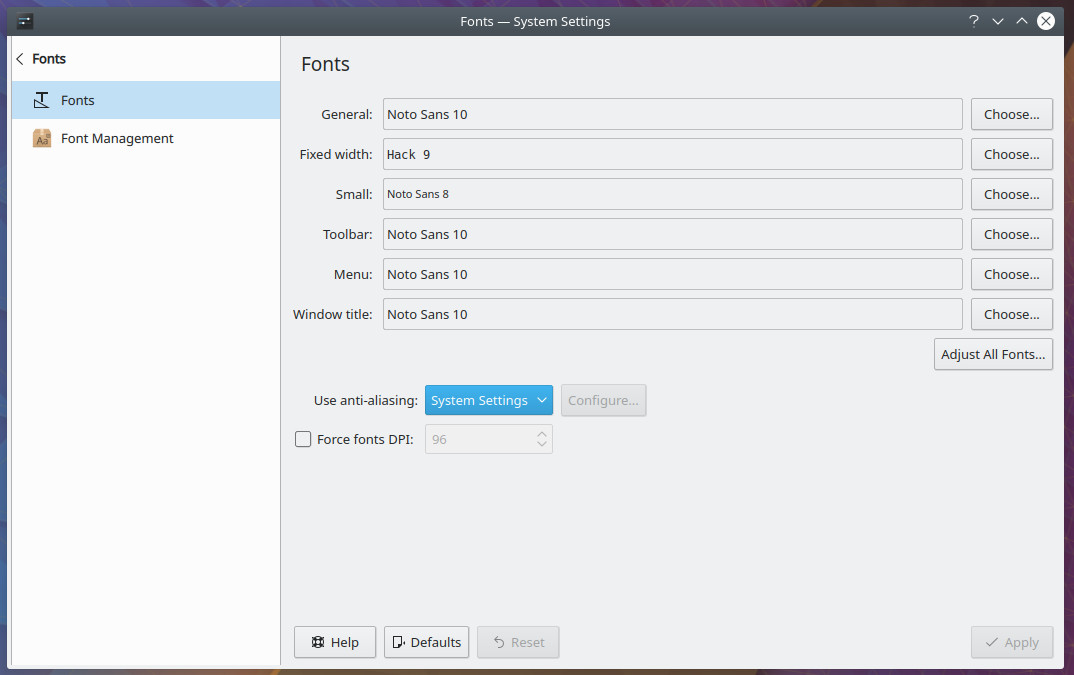
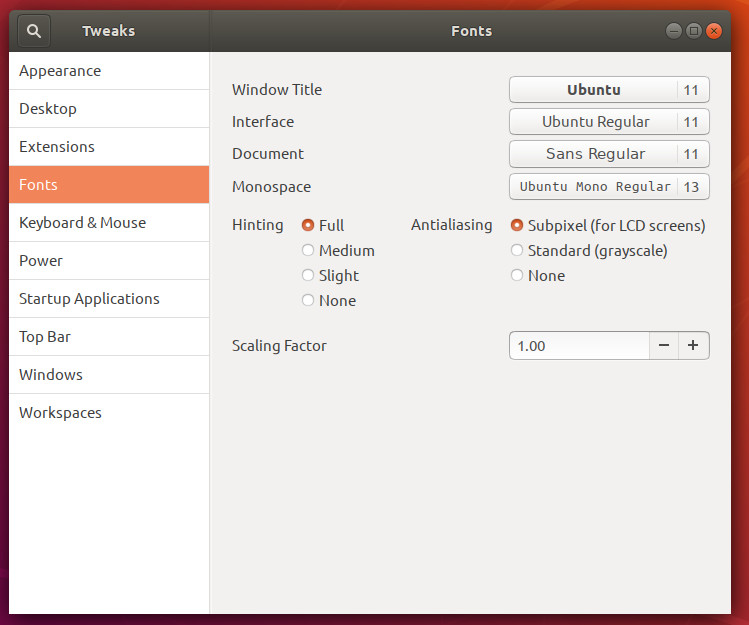
* There are three concepts you must first understand:
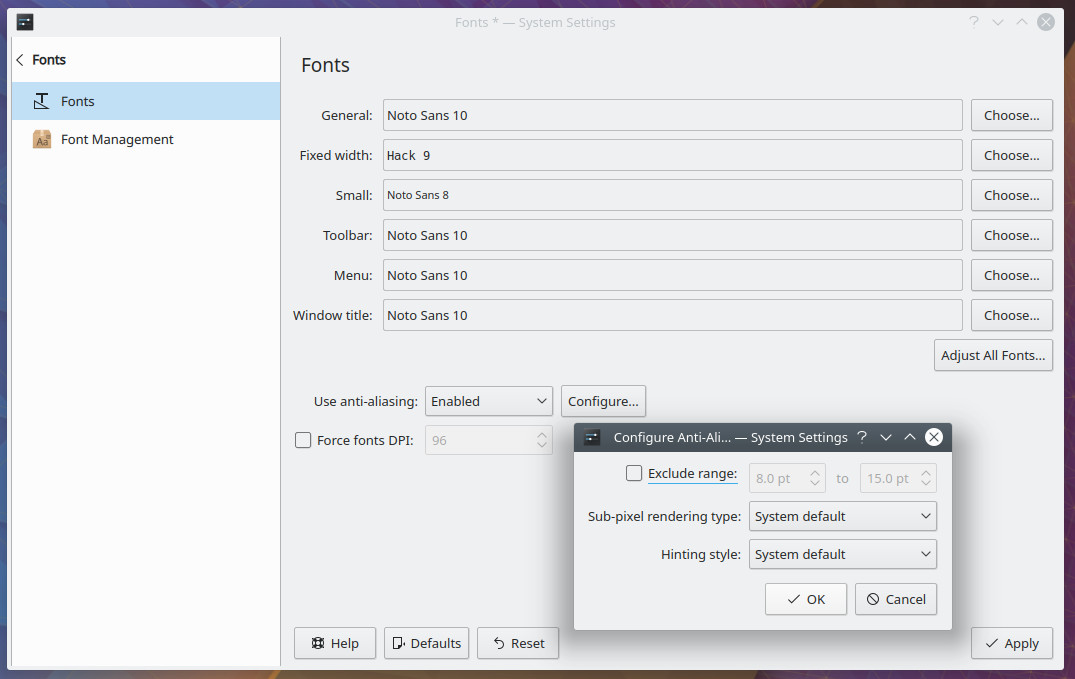
Font Hinting: The use of mathematical instructions to adjust the display of a font outline so that it lines up with a rasterized grid.
Anti-aliasing: The technique used to add greater realism to a digital image by smoothing jagged edges on curved lines and diagonals.
Scaling factor: A scalable unit that allows you to multiple the point size of a font. So if you’re font is 12pt and you have an scaling factor of 1, the font size will be 12pt. If your scaling factor is 2, the font size will be 24pt.


0 Comments